libpcap
該篇會示範如何使用libpcap。
官方網站下載libpcap,目前版本為libpcap-1.7.4。
編譯
安裝前先來看看有哪些參數可以使用,腳本configure用來檢查電腦的一些相依性。
libpcap-1.7.4 % ./configure --help
`configure' configures this package to adapt to many kinds of systems.

Usage: ./configure [OPTION]... [VAR=VALUE]...

To assign environment variables (e.g., CC, CFLAGS...), specify them as
VAR=VALUE.  See below for descriptions of some of the useful variables.

Defaults for the options are specified in brackets.

Configuration:
  -h, --help              display this help and exit
      --help=short        display options specific to this package
      --help=recursive    display the short help of all the included packages
  -V, --version           display version information and exit
  -q, --quiet, --silent   do not print `checking ...' messages
      --cache-file=FILE   cache test results in FILE [disabled]
  -C, --config-cache      alias for `--cache-file=config.cache'
  -n, --no-create         do not create output files
      --srcdir=DIR        find the sources in DIR [configure dir or `..']

Installation directories:
  --prefix=PREFIX         install architecture-independent files in PREFIX
                          [/usr/local]
  --exec-prefix=EPREFIX   install architecture-dependent files in EPREFIX
                          [PREFIX]

By default, `make install' will install all the files in
`/usr/local/bin', `/usr/local/lib' etc.  You can specify
an installation prefix other than `/usr/local' using `--prefix',
for instance `--prefix=$HOME'.

For better control, use the options below.

Fine tuning of the installation directories:
  --bindir=DIR            user executables [EPREFIX/bin]
  --sbindir=DIR           system admin executables [EPREFIX/sbin]
  --libexecdir=DIR        program executables [EPREFIX/libexec]
  --sysconfdir=DIR        read-only single-machine data [PREFIX/etc]
  --sharedstatedir=DIR    modifiable architecture-independent data [PREFIX/com]
  --localstatedir=DIR     modifiable single-machine data [PREFIX/var]
  --libdir=DIR            object code libraries [EPREFIX/lib]
  --includedir=DIR        C header files [PREFIX/include]
  --oldincludedir=DIR     C header files for non-gcc [/usr/include]
  --datarootdir=DIR       read-only arch.-independent data root [PREFIX/share]
  --datadir=DIR           read-only architecture-independent data [DATAROOTDIR]
  --infodir=DIR           info documentation [DATAROOTDIR/info]
  --localedir=DIR         locale-dependent data [DATAROOTDIR/locale]
  --mandir=DIR            man documentation [DATAROOTDIR/man]
  --docdir=DIR            documentation root [DATAROOTDIR/doc/PACKAGE]
  --htmldir=DIR           html documentation [DOCDIR]
  --dvidir=DIR            dvi documentation [DOCDIR]
  --pdfdir=DIR            pdf documentation [DOCDIR]
  --psdir=DIR             ps documentation [DOCDIR]

System types:
  --build=BUILD     configure for building on BUILD [guessed]
  --host=HOST       cross-compile to build programs to run on HOST [BUILD]
  --target=TARGET   configure for building compilers for TARGET [HOST]

Optional Features:
  --disable-option-checking  ignore unrecognized --enable/--with options
  --disable-FEATURE       do not include FEATURE (same as --enable-FEATURE=no)
  --enable-FEATURE[=ARG]  include FEATURE [ARG=yes]
  --disable-largefile     omit support for large files
  --disable-protochain    disable \"protochain\" insn
  --enable-ipv6           build IPv6-capable version [default=yes, if
                          getaddrinfo available]
  --enable-optimizer-dbg  build optimizer debugging code
  --enable-yydebug        build parser debugging code
  --disable-universal     don't build universal on OS X
  --enable-shared         build shared libraries [default=yes, if support
                          available]
  --enable-usb            enable nusb support [default=yes, if support
                          available]
  --enable-bluetooth      enable Bluetooth support [default=yes, if support
                          available]
  --enable-canusb         enable canusb support [default=yes, if support
                          available]
  --enable-can            enable CAN support [default=yes, if support
                          available]
  --enable-dbus           enable D-Bus capture support [default=yes, if
                          support available]
  --enable-packet-ring    enable Linux packet ring support [default=yes]

Optional Packages:
  --with-PACKAGE[=ARG]    use PACKAGE [ARG=yes]
  --without-PACKAGE       do not use PACKAGE (same as --with-PACKAGE=no)
  --without-gcc           don't use gcc
  --with-sita             include SITA support
  --with-pcap=TYPE        use packet capture TYPE
  --without-libnl         disable libnl support [default=yes, on Linux, if
                          present]
  --with-dag[=DIR]        include Endace DAG support ["yes", "no" or DIR;
                          default="yes" on BSD and Linux if present]
  --with-dag-includes=DIR Endace DAG include directory
  --with-dag-libraries=DIR
                          Endace DAG library directory
  --with-septel[=DIR]     include Septel support (located in directory DIR, if
                          supplied). [default=yes, on Linux, if present]
  --with-snf[=DIR]        include Myricom SNF support ["yes", "no" or DIR;
                          default="yes" on BSD and Linux if present]
  --with-snf-includes=DIR Myricom SNF include directory
  --with-snf-libraries=DIR
                          Myricom SNF library directory
  --without-flex          don't use flex
  --without-bison         don't use bison

Some influential environment variables:
  CC          C compiler command
  CFLAGS      C compiler flags
  LDFLAGS     linker flags, e.g. -L<lib dir> if you have libraries in a
              nonstandard directory <lib dir>
  LIBS        libraries to pass to the linker, e.g. -l<library>
  CPPFLAGS    (Objective) C/C++ preprocessor flags, e.g. -I<include dir> if
              you have headers in a nonstandard directory <include dir>
  CPP         C preprocessor

Use these variables to override the choices made by `configure' or to help
it to find libraries and programs with nonstandard names/locations.

Report bugs to the package provider.
這邊看需求給參數設定,最主要要設定這個參數--prefix,這個指定的是安裝目錄,每個Library預設目錄都不太一樣,為了方便管理,我就將所有Library安裝在這個目錄下/usr/local/TU。
--prefix請記得使用絕對路徑。
產生一下目錄。
~ % sudo mkdir -p /usr/local/TU/libpcap #產生目錄
~ % sudo chown -R $USER /usr/local/TU/ #改變擁有者
~ % sudo chown -R :staff /usr/local/TU/ #改變群組
切回到libpcap原始碼目錄下configure腳本,記得要給--prefix參數。
libpcap-1.7.4 % ./configure --prefix=/usr/local/TU/libpcap
checking build system type... x86_64-apple-darwin15.2.0
checking host system type... x86_64-apple-darwin15.2.0
checking target system type... x86_64-apple-darwin15.2.0
checking for gcc... gcc
...略
config.status: creating config.h
config.status: executing default-1 commands
libpcap-1.7.4 %
完成後下make指令來編譯。
libpcap-1.7.4 % make
gcc -fno-common -arch x86_64 -arch i386 -I.  -DHAVE_CONFIG_H  -D_U_="__attribute__((unused))" -g -O2    -c ./pcap-bpf.c
gcc -fno-common -arch x86_64 -arch i386 -I.  -DHAVE_CONFIG_H  -D_U_="__attribute__((unused))" -g -O2    -c ./fad-getad.c
...略
/config.status --file=pcap-config.tmp:./pcap-config.in
config.status: creating pcap-config.tmp
mv pcap-config.tmp pcap-config
chmod a+x pcap-config
libpcap-1.7.4 %
最後下make install安裝。
libpcap-1.7.4 % make install
rm -f libpcap*.dylib
VER=`cat ./VERSION`; \
    MAJOR_VER=A; \
    COMPAT_VER=1; \
...略
for i in pcap-filter.manmisc.in pcap-linktype.manmisc.in pcap-tstamp.manmisc.in; do \
        /usr/bin/install -c -m 644 `echo $i | sed 's/.manmisc.in/.manmisc/'` \
            /usr/local/TU/libpcap/share/man/man7/`echo $i | sed 's/.manmisc.in/.7/'`; done
libpcap-1.7.4 %
這樣就完成了,到/usr/local/TU目錄下看一下結果。
libpcap-1.7.4 % open /usr/local/TU/
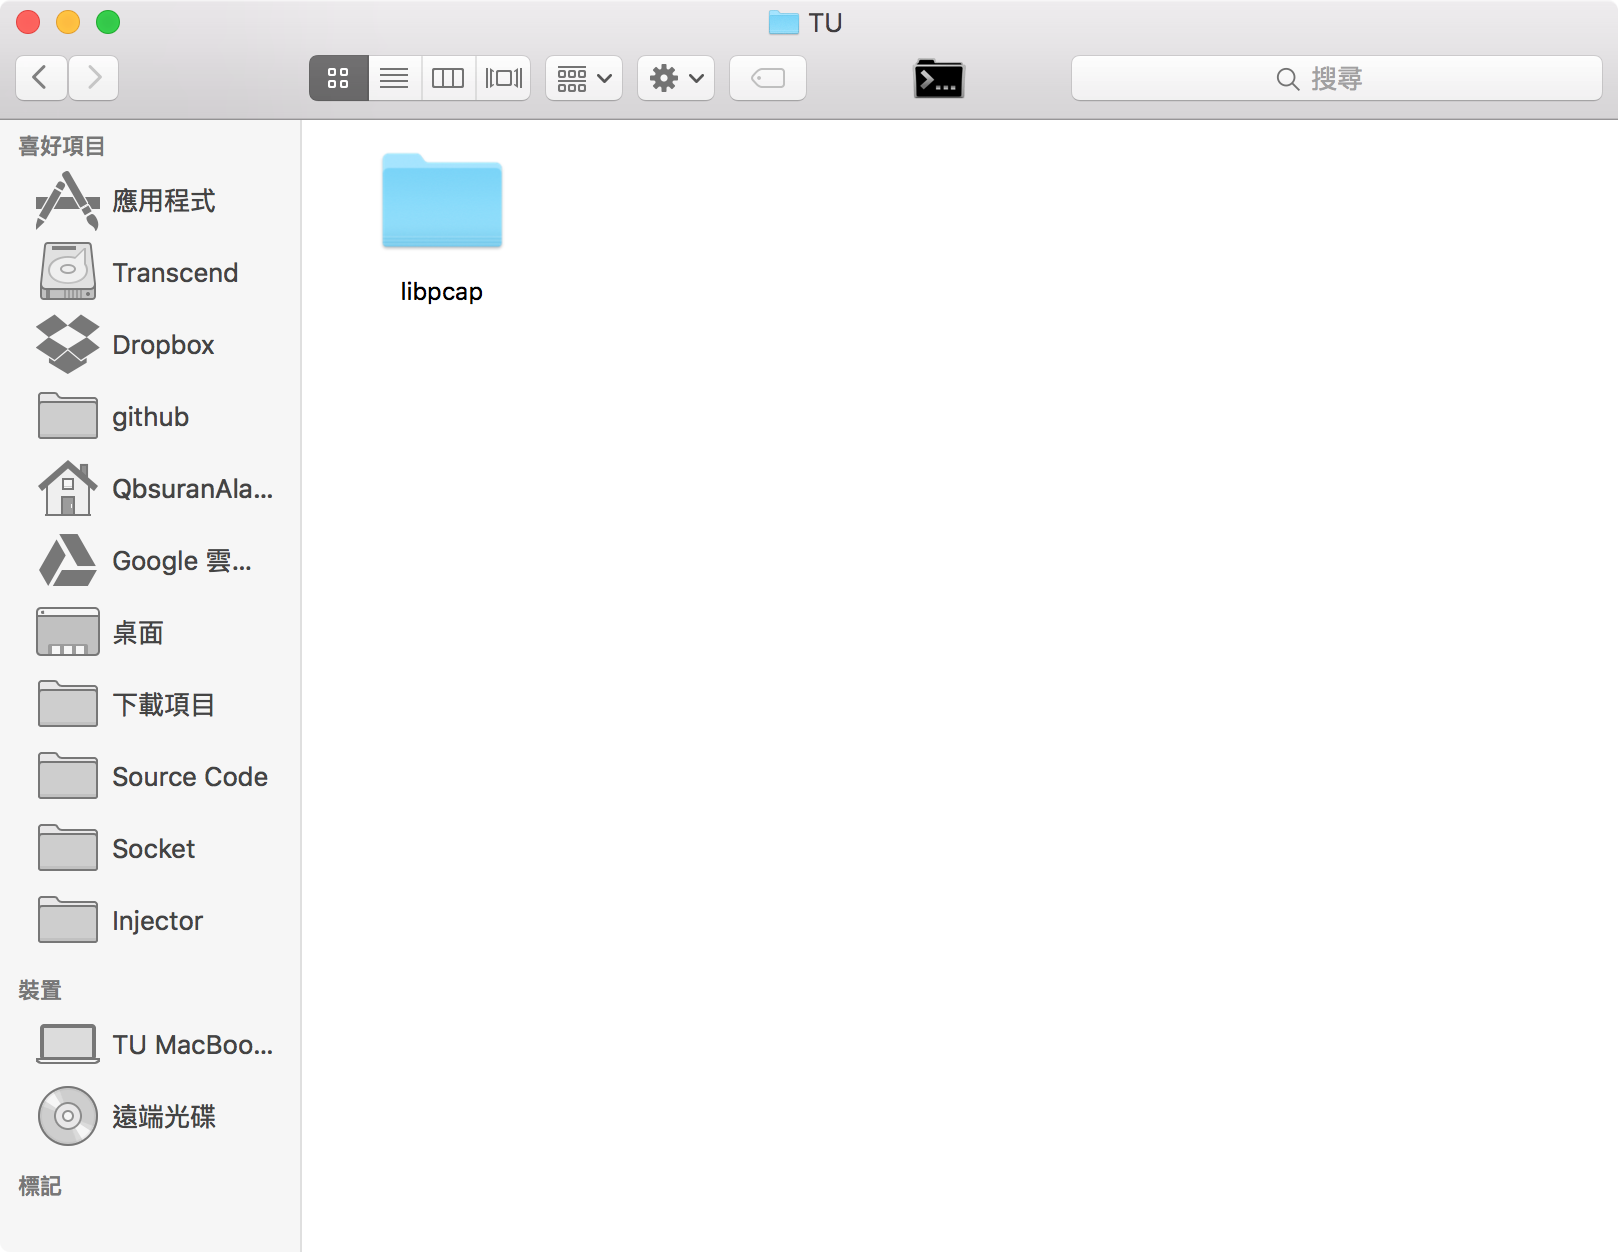

這邊幾個資料夾介紹一下:
bin:放置一些指令或是腳本,這裡放的是pcap-config編譯用組態腳本。include:libpcap的表頭檔案,寫程式需要。lib:libpcap的Library檔案,寫程式需要。share:其他檔案,像是man page。
幾個常用的libpcap函數請看Function的libpcap篇。
安裝完後原始碼基本上可以刪除了,不過我都講「基本上」,因為呢,有時候學習寫程式要借鑿別的人想法,偶爾翻翻原始碼學習,相信絕對會比問別人或是上網查來的資料還多。
/dev/bpf
這邊就要來講要怎麼透過別人的原始碼來學習,其實不只能透過程式碼學習,也可以從它包含的檔案內學習。有些人會發現安裝libpcap抓封包需要root權限,可是安裝Wireshark後就不需要了,必然Wireshark一定有修改什麼,但是Wireshark原始碼龐大比較難研究,Wireshark是使用libpcap抓封包,所以我們從libpcap的原始碼研究。
libpcap原始碼內有一個檔案chmod_bpf。
libpcap-1.7.4 % ls ch
CHANGES     ChmodBPF/   chmod_bpf*
它是一個腳本,他的檔名有chmod:改變檔案權限以及bpf的字眼,打開來看。
libpcap-1.7.4 % vi chmod_bpf
...略
 16 # admin group can capture packets.
 17 #
 18 chgrp admin /dev/bpf*
 19 chmod g+rw /dev/bpf*
它改變了/dev/bpf*這些檔案的群組以及權限,來看看這些檔案有什麼改變。
~ % ls -l /dev/bpf*
crw-rw----  1 root  access_bpf   23,   0 12 24 22:09 /dev/bpf0
crw-rw----  1 root  access_bpf   23,   1 12 24 22:09 /dev/bpf1
...略
群組叫做access_bpf,不是一個尋常的名字,看看自己的群組。
~ % groups
staff access_bpf everyone localaccounts _appserverusr admin _appserveradm _lpadmin _appstore _lpoperator _developer com.apple.access_ftp com.apple.access_screensharing com.apple.access_ssh-disabled
有access_bpf,再看看/dev/bpf*的權限crw-rw----,群組的權限是rw,也就是說同一個群組下可以read和write。
也就是說Wireshark可能是從透過這個方法來達到不需root也能抓取封包,那來找看看Wireshark有沒有類似的腳本。
Wireshark原始碼路徑:wireshark-2.0.0/packaging/macosx/ChmodBPF
ChmodBPF % ls
ChmodBPF                     org.wireshark.ChmodBPF.plist
ChmodBPF % vi ChmodBPF
...略
 38
 39 chgrp access_bpf /dev/bpf*
 40 chmod g+rw /dev/bpf*
看來Wireshark就是使用這個腳本,在目錄下另一個檔案org.wireshark.ChmodBPF.plist是Daemon(在背景執行的程序)使用的組態檔,打開來看:
ChmodBPF % vi org.wireshark.ChmodBPF.plist
  1 <?xml version="1.0" encoding="UTF-8"?>
  2 <!DOCTYPE plist PUBLIC "-//Apple Computer//DTD PLIST 1.0//EN" "http://www.apple.com/DTDs/Propert    yList-1.0.dtd">
  3 <plist version="1.0">
  4 <dict>
  5     <key>Label</key>
  6     <string>org.wireshark.ChmodBPF</string>
  7     <key>RunAtLoad</key>
  8     <true/>
  9     <key>Program</key>
 10     <string>/Library/Application Support/Wireshark/ChmodBPF/ChmodBPF</string>
 11 </dict>
 12 </plist>
這是在Mac OS X上Daemon的組態檔,會在開機的時候執行/Library/Application Support/Wireshark/ChmodBPF/ChmodBPF這個腳本,所以Wireshark安裝的時候會這樣處理這兩個檔案:
- 將
org.wireshark.ChmodBPF.plist複製到/Library/LaunchDaemons/目錄下 - 將
ChmodBPF複製到/Library/Application Support/Wireshark/ChmodBPF/
所以開機的時候就會去執行這個腳本去修改權限,用此方法解決權限不足問題。
常常我們寫程式遇到問題不知道該下什麼關鍵字,那就是所謂的
I don't know what I don't know.,我們可以透過像這樣藏在原始碼內的提示來學習一些知識。
Xcode and Command Line Environment Settings
因為我們要使用第三方Library開發程式,所以要稍微設定一下環境。
Xcode
選擇OS X->Application->Command Line Tool
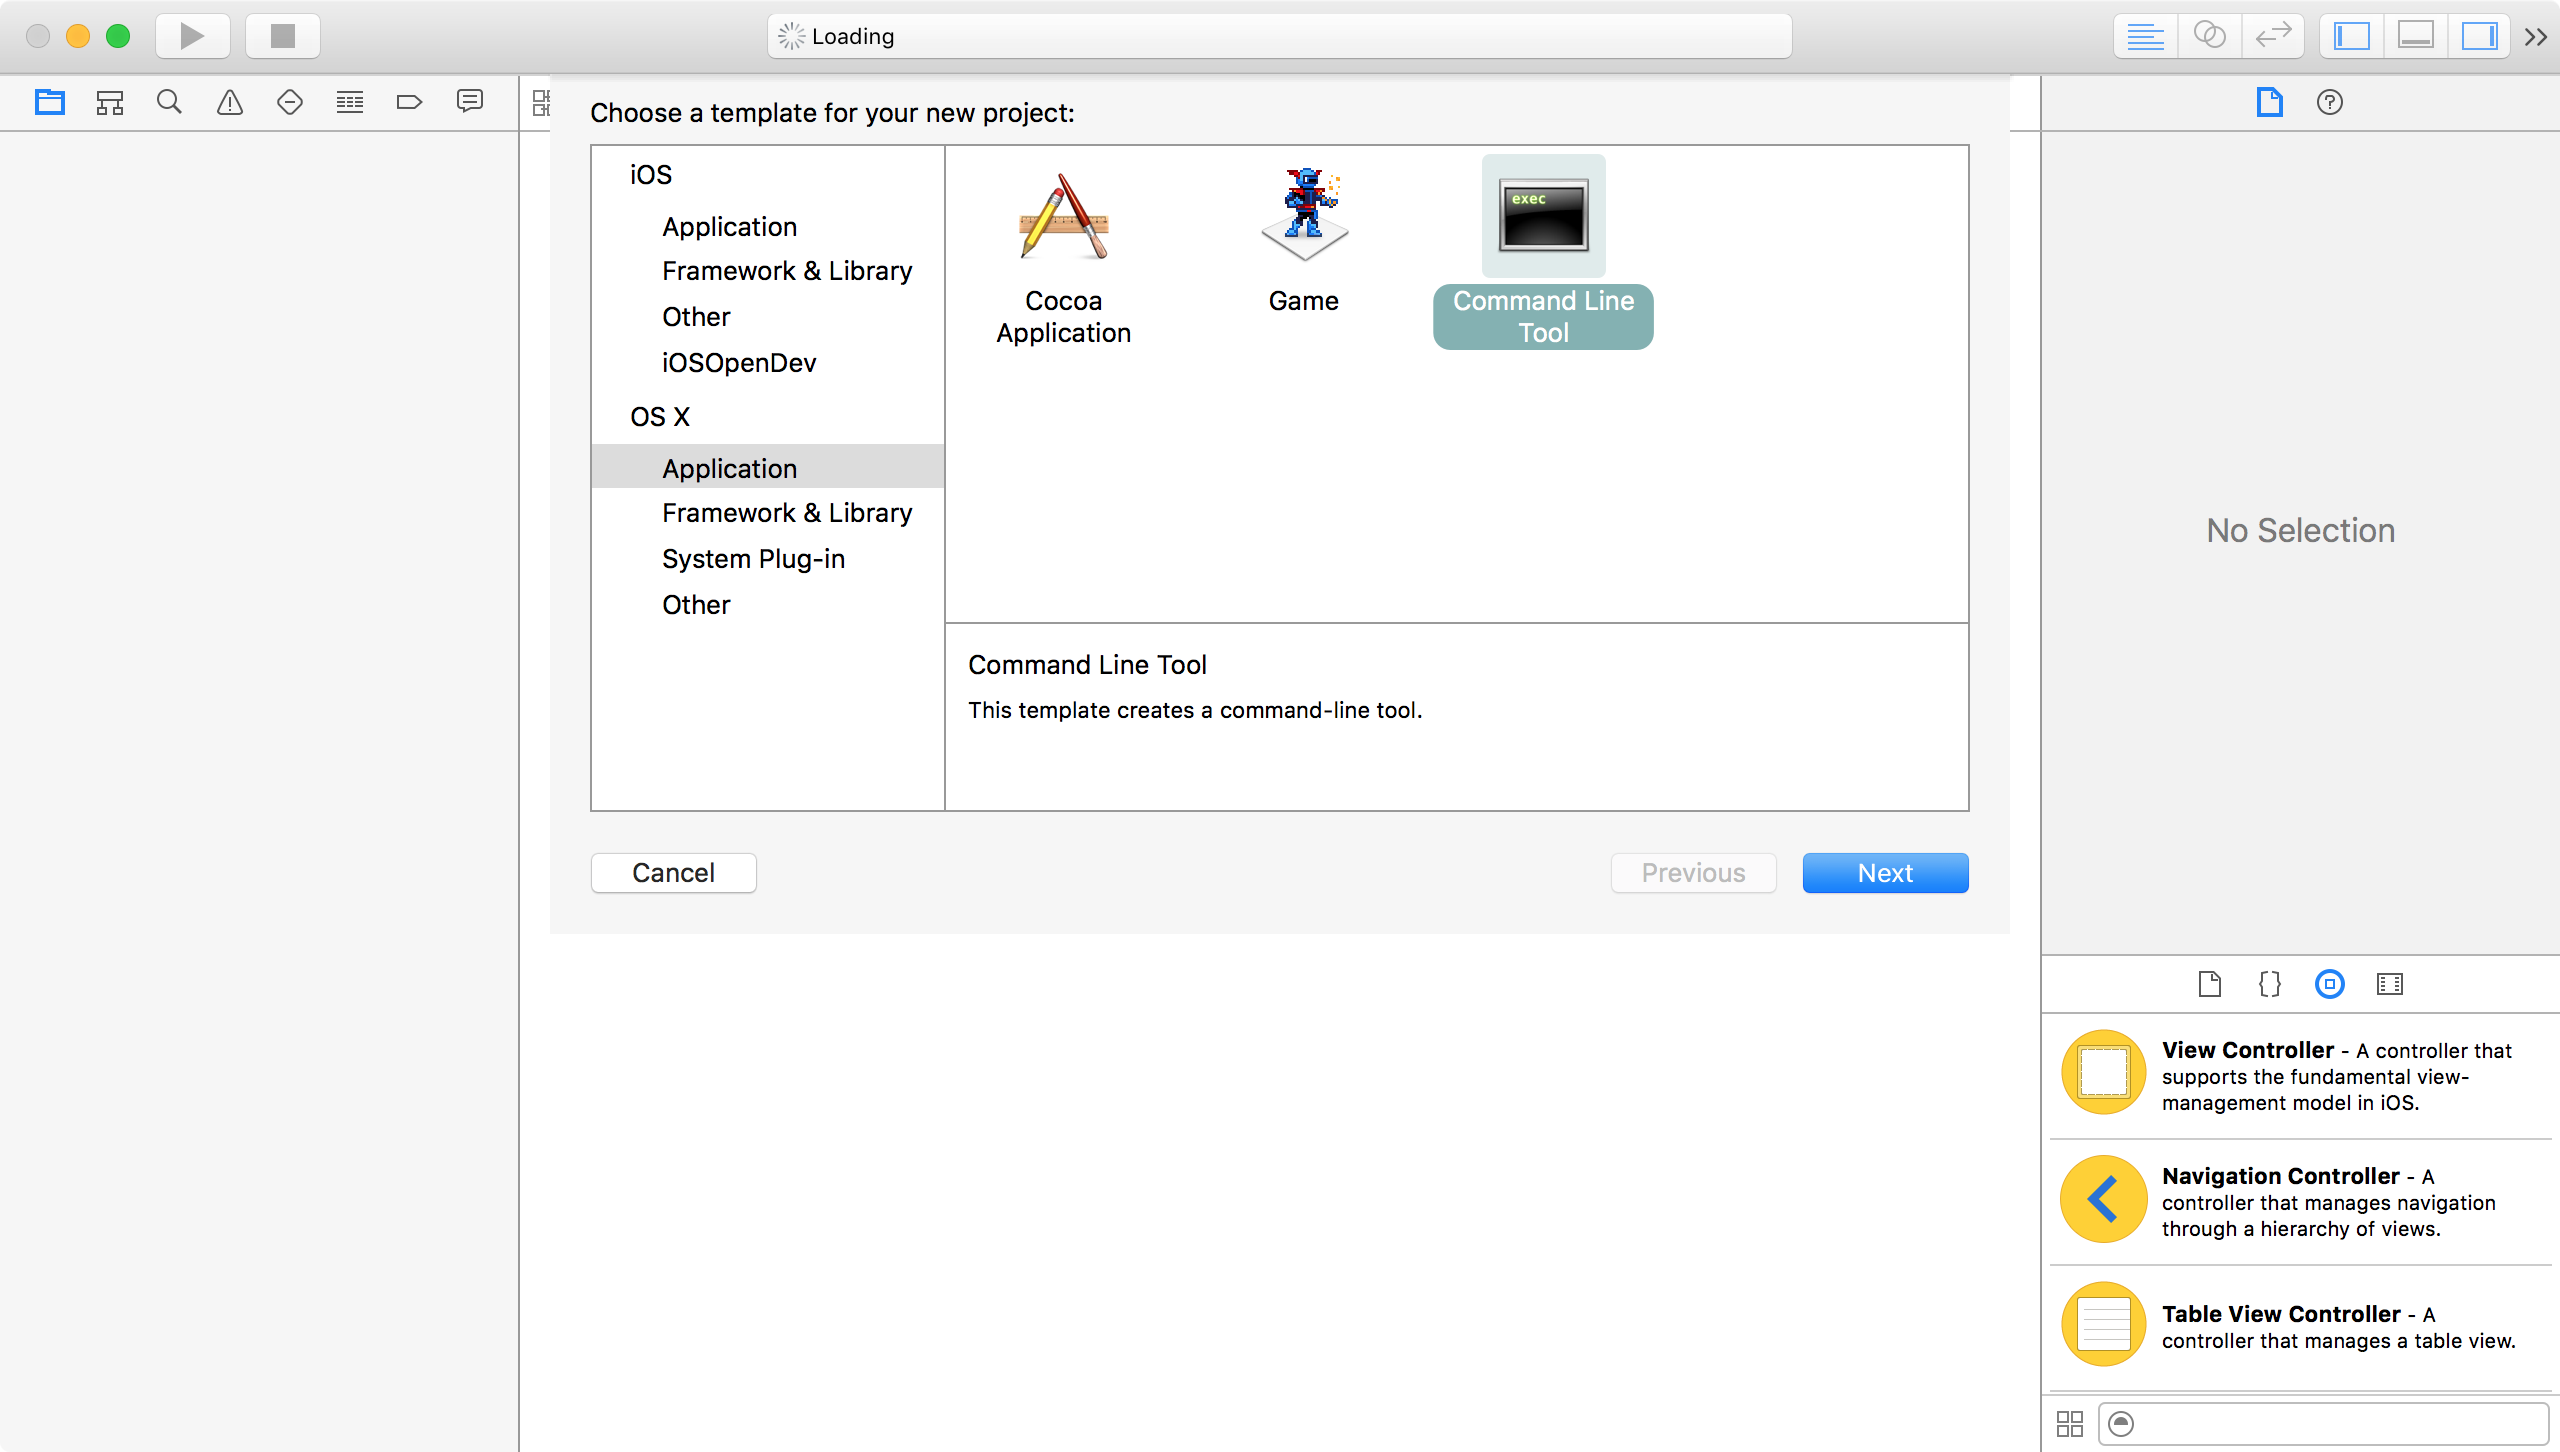
打個專案名稱,選擇C語言

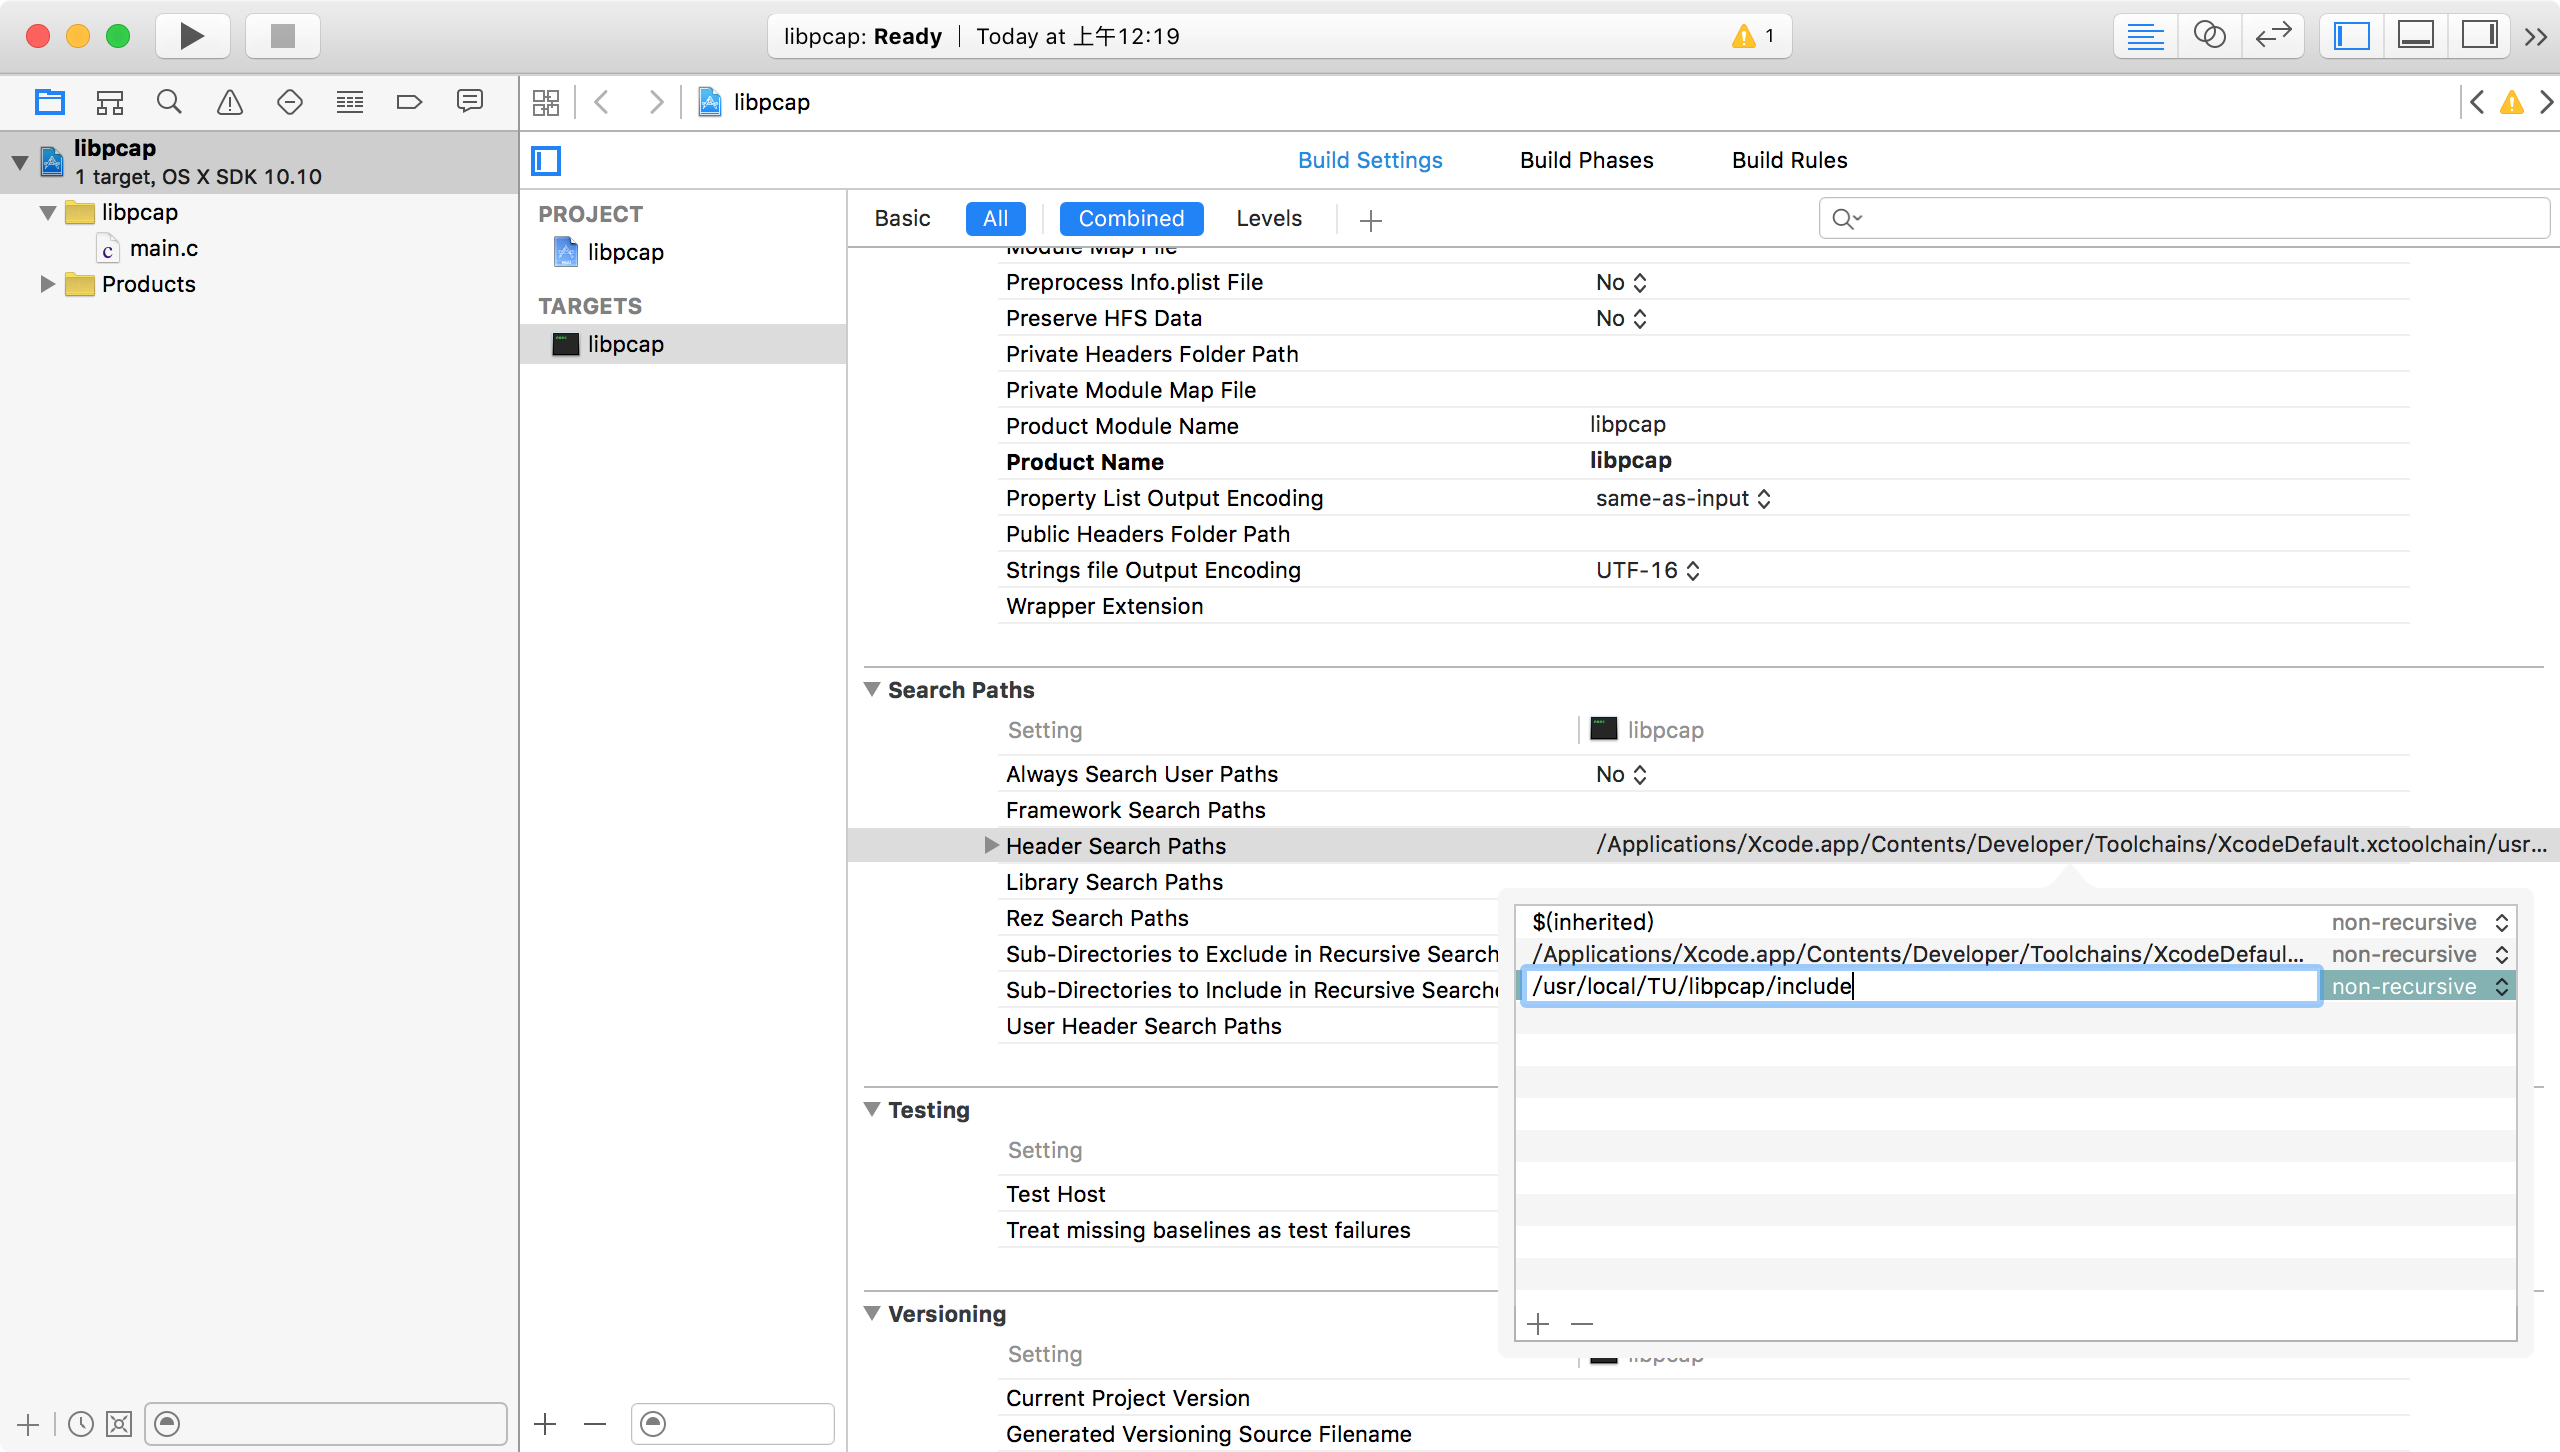
建好專案後,到Build Settings,首先要先給它Headers的路徑。找到Search Paths,我們安裝在/usr/local/TU/libpcap,在Header Search Paths裡新增/usr/local/TU/libpcap/include。
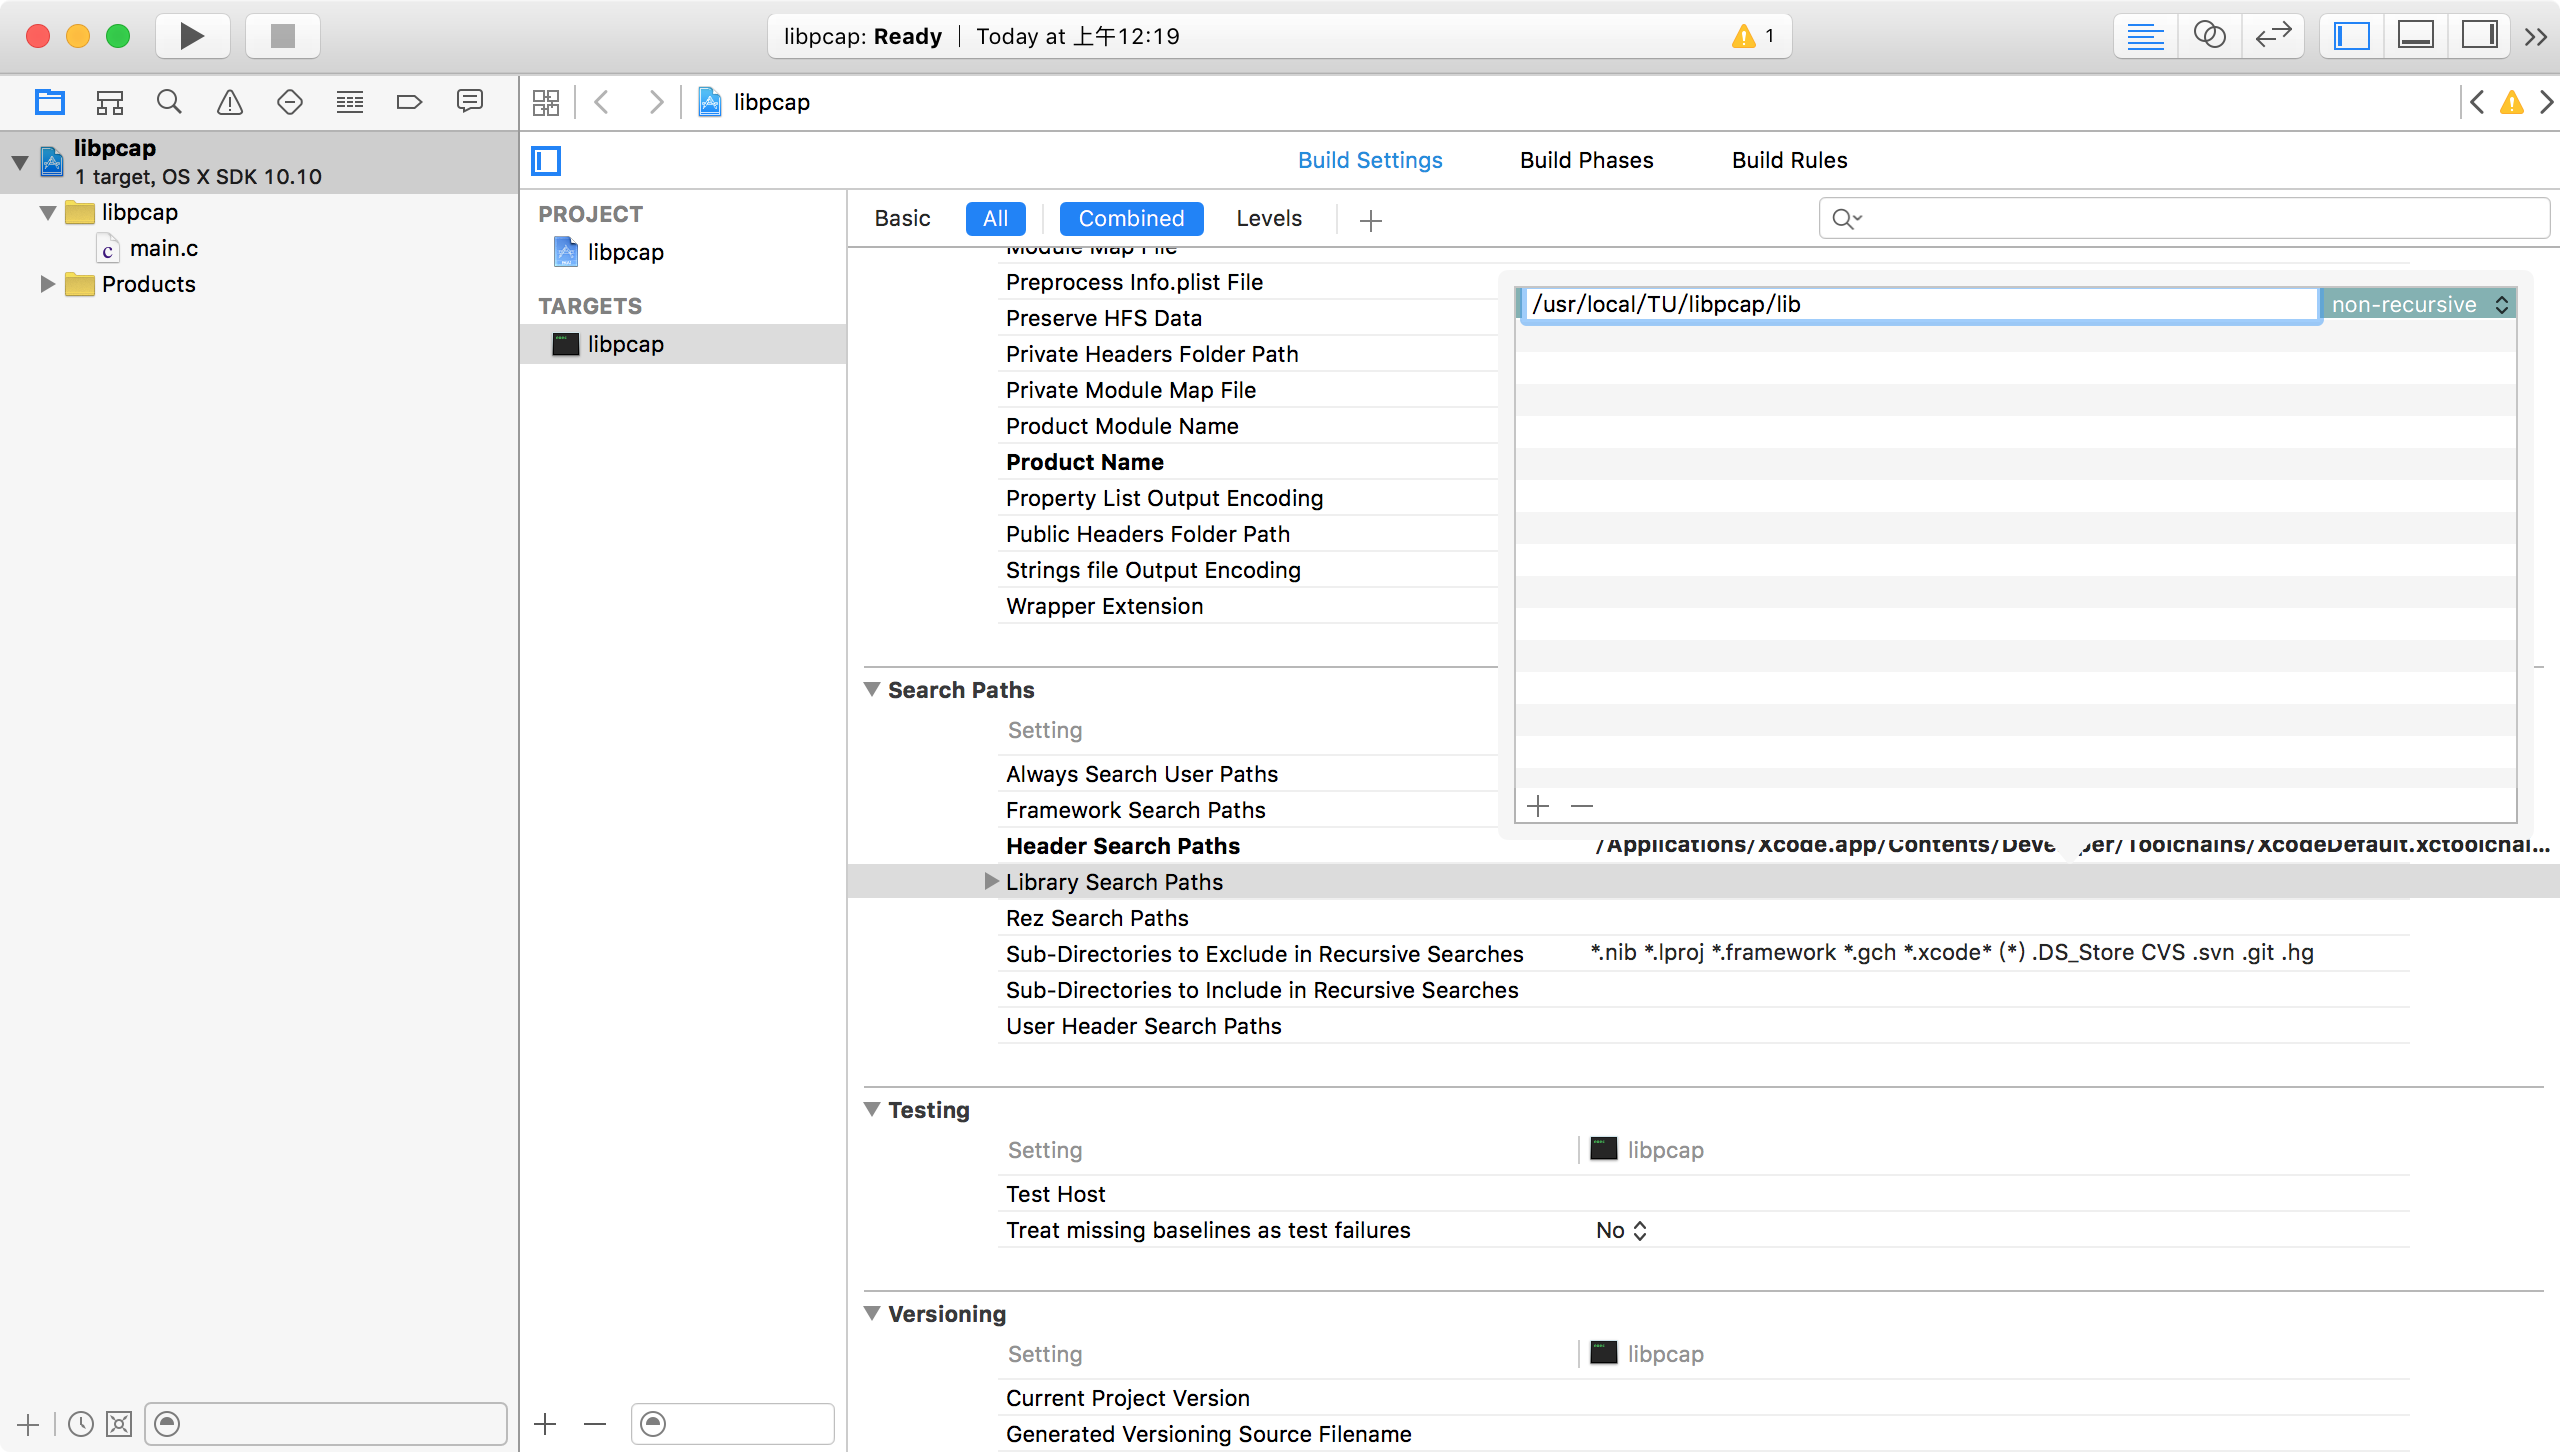
然後是lib的路徑,在Library Search Paths裡新增/usr/local/TU/libpcap/lib。
但是這些只是搜尋位置,編譯的時候還是需要指定哪個檔案編譯,往上找Linking的Other Linker Flags裡新增-lpcap。
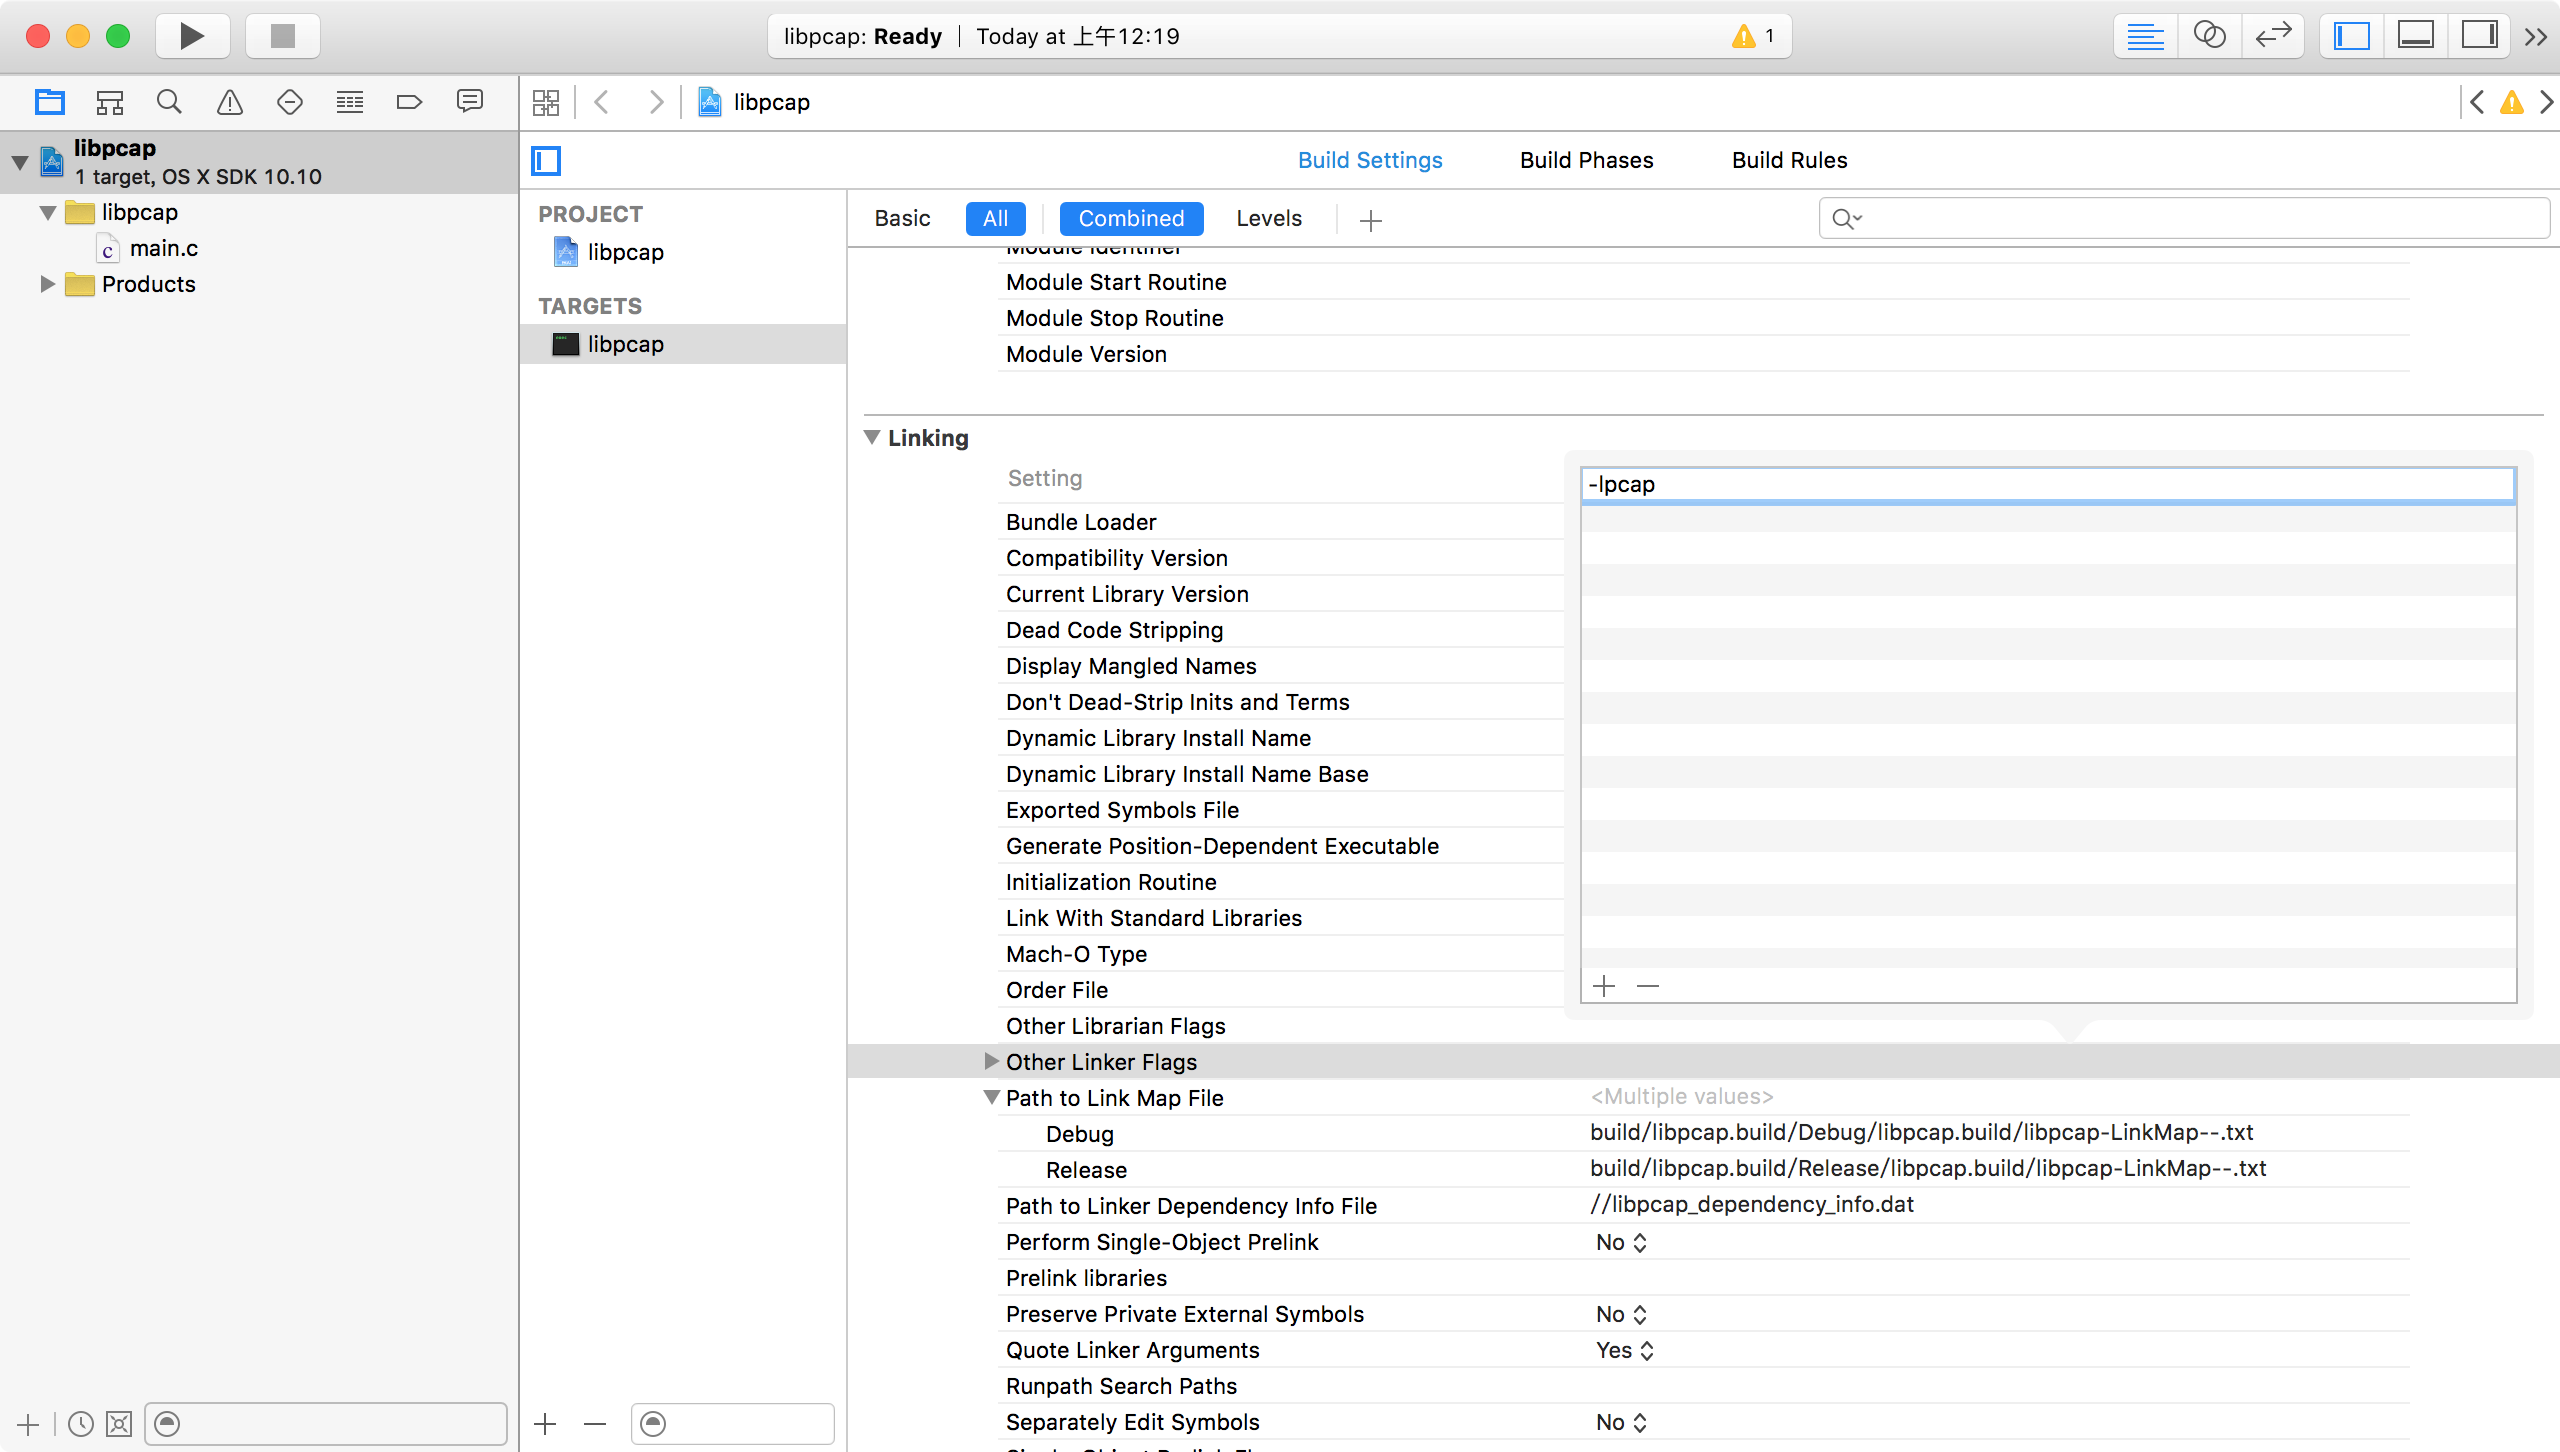
這邊稍微講一下為什麼是
-lpcap,libpcap的lib檔案名稱叫做libpcap.a,library的名稱固定libxxx.副檔名,我們要用-lxxx指定說要link到哪個Library,所以例如libssl.a就要用-lssl。
這樣就可以開始寫程式了。
Command Line
在工具列上我們要編譯程式使用gcc編譯器,那麼一樣的需要指定headers、Library搜尋路徑以及指定link哪個Library。gcc有眾多參數,在這只講會用到的參數。
-o 輸出檔案名稱,不指定預設a.out
-I Headers搜尋路徑
-L Library搜尋路徑
-l link的Library
所以如果要編譯時就這樣使用:
~ % gcc main.c -o hello -I /usr/local/TU/libpcap/include -L /usr/local/TU/libpcap/lib -lpcap
~ % ./hello
Hello TUTU
Source Code
- libpcap/list_interfaces.c
- libpcap/default_interface.c
- libpcap/capture_pcap_loop.c
- libpcap/capture_pcap_dispatch.c
- libpcap/capture_pcap_next_ex.c
- libpcap/use_filter_capture_arp.c
- libpcap/save_packet_to_file.c
- libpcap/read_packet_from_file.c
- libpcap/data_link_types.c
- libpcap/dump_ethernet.c
- libpcap/dump_arp.c
- libpcap/dump_ip.c
- libpcap/dump_tcp.c
- libpcap/dump_udp.c
- libpcap/dump_icmp.c
- libpcap/send_a_packet.c
Compile Source Code
如果下載我提供的Source Code,並且按照前面安裝libpcap的路徑為/usr/local/TU/libpcap,那麼就直接切到提供的Source Code路徑直接下make指令,就可以一次編譯我所提供的所有原始碼囉。
libpcap % make
/usr/bin/gcc -lpcap    list_interfaces.c   -o list_interfaces
/usr/bin/gcc -lpcap    default_interface.c   -o default_interface
/usr/bin/gcc -lpcap    capture_pcap_loop.c   -o capture_pcap_loop
/usr/bin/gcc -lpcap    capture_pcap_dispatch.c   -o capture_pcap_dispatch
/usr/bin/gcc -lpcap    capture_pcap_next_ex.c   -o capture_pcap_next_ex
/usr/bin/gcc -lpcap    use_filter_capture_arp.c   -o use_filter_capture_arp
/usr/bin/gcc -lpcap    save_packet_to_file.c   -o save_packet_to_file
/usr/bin/gcc -lpcap    read_packet_from_file.c   -o read_packet_from_file
/usr/bin/gcc -lpcap    data_link_types.c   -o data_link_types
/usr/bin/gcc -lpcap    dump_ethernet.c   -o dump_ethernet
/usr/bin/gcc -lpcap    dump_arp.c   -o dump_arp
/usr/bin/gcc -lpcap    dump_ip.c   -o dump_ip
/usr/bin/gcc -lpcap    dump_tcp.c   -o dump_tcp
/usr/bin/gcc -lpcap    dump_udp.c   -o dump_udp
/usr/bin/gcc -lpcap    dump_icmp.c   -o dump_icmp
/usr/bin/gcc -lpcap    send_a_packet.c   -o send_a_packet
如果不是安裝在/usr/local/TU/libpcap,修改檔案Makefile的變數ROOT_DIR就可以了。
如果只要編譯單一程式,指令make 程式就可以了,例如要編譯dump_icmp.c。
libpcap % make dump_icmp
/usr/bin/gcc -lpcap    dump_icmp.c   -o dump_icmp
指令make clean可以清除剛剛編譯出來的執行檔。
libpcap % make clean
rm -f list_interfaces default_interface capture_pcap_loop capture_pcap_dispatch capture_pcap_next_ex use_filter_capture_arp save_packet_to_file read_packet_from_file data_link_types dump_ethernet dump_arp dump_ip dump_tcp dump_udp dump_icmp send_a_packet
因為編譯的動作相同,我們可以寫個檔案Makefile來輔助編譯。檔案Makefile內的語法跟直接用指令編譯的語法基本上幾乎相同,所以不另外介紹。
Makefile語法要簡單很簡單,要很難也可以很難,那不是我們所要介紹的功能,有興趣就自己另外找資源學習囉。
小結
libpcap基本的用法大致上就是這些,我們只解析到傳輸層以下,若要解析應用層的協定會比較麻煩,因為每種應用層都不太一樣,後面會再使用libnids解析比較方便。
雖然還有一些函數未介紹,不過之後有需要再查看說明手冊就可以了。